We were recently asked to help build a landing page in Rainmaker with some fairly specific requirements, including a parallax background effect. We knew going in that this platform was still very young and offered limited functionality for landing pages, but we’ve always been a fan of projects where we have to think around corners to make something work, so we accepted the challenge.

Starting out, I had hoped that I would be able to “overwrite” some of the landing page styles in the custom CSS area (under the design menu from the Rainmaker dashboard). This works really well for customizing styles in one of the existing Rainmaker themes, but these styles don’t apply to landing pages because the landing pages have their own stylesheet which is not accessible from the dashboard.
I went really old school to find a work around for this. These landing pages will read internal styles and inline styles, so I set up my own custom CSS space in a text box.
Here’s how to do it…
Step #1

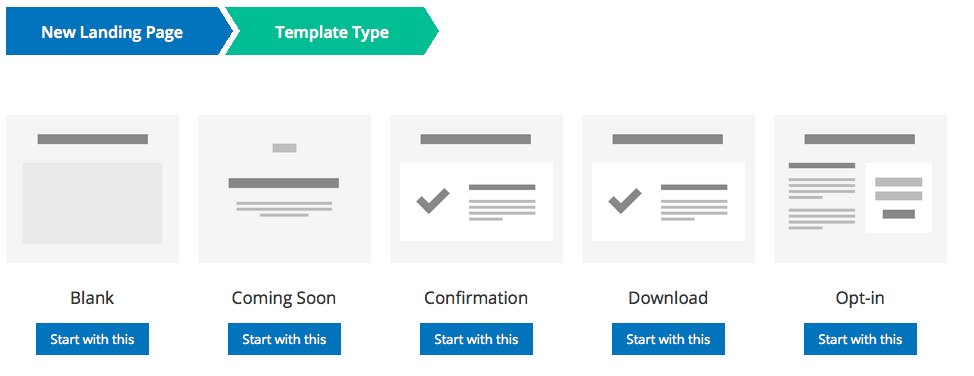
Make a new landing page and choose the “Template Builder” option. This will also work with the prebuilt templates, but you have a lot more room to grow your landing page if you use the template builder. Choose any starting “Template Type” that you want. This option adds a couple of content spaces for you, but I usually start with a blank one and add my own content spaces.
Step #2

Add a new Section with as many columns as you would like, and a text box element to the section. I used the first text box on my landing page as the holder for my custom styles, but you can put this code into a text box anywhere on the page and still have it apply to the whole page.
Step #3
Create a “Header” and “Styles” area in the text box with HTML. Make sure that you are in the text tab and not the visual tab. Also note that switching between the visual tab and the text tab may erase your code, so keep a backup. It will look like this.
Step #4
To get the parallax background effect you will need these styles:
- The first style (.site-container) overwrites the page width of 960px so that your background images can extend off the page.
- The second style (.single-landing_page .content) clears any existing background that you might have. If you a want full-page background, you could use a background image here instead of individual section backgrounds.
- The third style (.section-wrap) adds the maximum 960px width back in for your text and image elements so that the text does not extend off the page with the background images.
- And the final style, this is the tricky one, will be the name of your specific sections. So in this case I called the two sections that I want to have a background image #section_top and #section_bottom. These names will vary based on the names that you gave your sections as you created them, so you may need to look at the code to find the right ID. The fixed background position creates the parallax effect. Simply replace the background image URL with your image.


